A solid color manicure is beautiful and classic by itself, but also as an accent with glitter and design Color Street strips. However, they do come with their own set of Color Street application tricks in order to get that perfect manicure.
Want more tips and tricks? Check out the Ultimate Beginner’s Guide to Color Street!
Below is an infographic of the basic process for Color Street application that you can use to follow along with. There are also written out instructions in every package of Color Street nail polish.

Once you understand the basic Color Street application process, you can start using some of these extra tips for a solid color manicure. You may or may not need to use them, but I like to tell them to everyone just in case!
This post contains affiliate links for products that I personally use or believe you will love based on quality. If you click on a link and make a purchase I may receive a small commission (at no additional cost to you). This helps support and enable me to continue to make emazing content for you!
Nail Prep
Nail prep for solids is basically the same for any other Color Street application. The only thing you might consider doing for solids that you wouldn’t necessarily care to do with the others is buffing out the ridges on your nail. Any ridges are more visible with the solids due to their thicker nature as well as the fact they have no glitter or design to mask any imperfections. Just be mindful not to buff TOO much as that can damage the nail.
Press down in the center first, then up the sides
When smoothing out your solid Color Street strip, wrinkles can be a problem. One of the ways to avoid wrinkles is to smooth down the center first and then up the sides of the nail bed. You’ll also want to give a VERY SLIGHT tug at the tip on both sides of the nail. This will further smooth out any wrinkles that are hiding within the crease of your cuticle. Just be sure not to pull too much or you’ll rip the strip at the end.
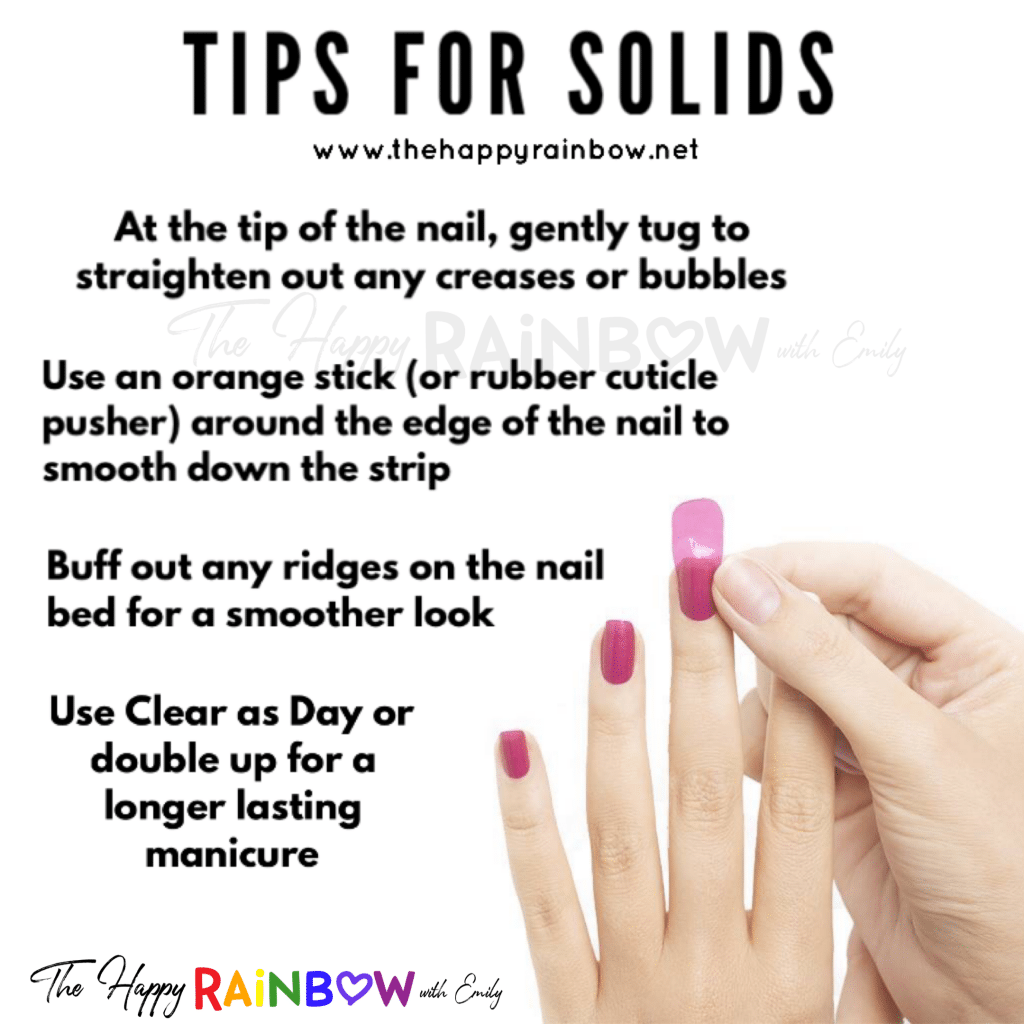
Use an Orange Stick (cuticle pusher)
Using an orange stick or other rubber cuticle pusher around the edges of your nail can also help smooth out the strip. Solid colored strips are usually less elastic than glitters or designs given their opaqueness. You can get a cuticle pusher at almost any store that sells nail/beauty supplies, but here is an example in case you’re not sure what it is. If you use a wooden or metal cuticle pusher, be extra careful when using it on the nail polish strip itself. They are sharper and can scratch or rip holes into the strip which is why they are great for getting rid of excess around the cuticles.
Clear As Day
Applying Clear As Day or other top coat over the nail polish strip can help protect them. If you have weaker nails, the strips will start to crack as your nail bends during daily activities. A top coat will add an extra layer of strength to the nail. This will keep those cracks at bay for much longer. This will also protect against chipping. If you have particularly weak nails, I recommend a nail strengthener base coat used the day before applying any of your Color Street.
Also, for a master list of all the Dos and Don’ts of Color Street application, check out the Ultimate Beginner’s Guide! But when all else fails, the best way to improve your Color Street application is through practice, practice, practice!
Low on supplies? Get more Color Street nail polish strips here!
Emily Meyer
Independent Color Street Stylist
www.thehappyrainbow.net
Related Articles
How to save left over nail polish strips
Things to know before joining Color Street
French Tip Application
Tips for the best nailfie