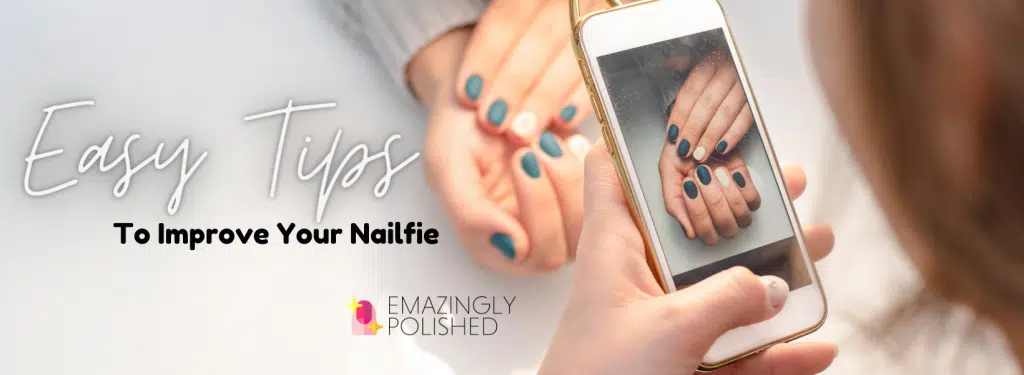
Whether you are running a business or taking photos for personal sharing, everyone wants the perfect “nailfie” or photo of their nail art. It may seem like a no brainer, but I can’t tell you how many poor nailfies I find every day. The less attractive they are the fewer people are going to be attracted to your business or follow your profile for more photos and inspiration! I was definitely one of those people in the beginning.
My nailfies when I started my business were definitely sub par and I needed to do better. Here are the top 5 tips that I learned selling Color Street nail polish strips and being immersed in the nail art community.
Updated August 5, 2021
This post contains affiliate links for products that I personally use or believe you will love based on quality. If you click on a link and make a purchase I may receive a small commission (at no additional cost to you). This helps support my rainbow to continue to make great content for you!
Use A Macro Lens
It is almost impossible to get those clear beautiful shots of glitter without the help of something. The iPhone can only go in so far before it gets blurry just like a regular camera. And if you’re going to be posting your nailfies to social media you’ll want the best and clearest photos. This is the macro lens that I use for my iPhone. Here’s an example of the type of photo I get with it.
Not sure if a macro lens is for you? There are many reasons to need a macro lens outside of the nail world as well.
Get Creative With Backgrounds
You want to have something in the background that compliments the nail art, but not so distracting that it takes away from what you want people to focus on: the nails. This could be as simple as using a complementary color or design to as complicated as bottles of nail polish or product in the background.
However, a word of caution. You don’t want your background to look cluttered. Taking a nailfie in a dirty bedroom or living room will leave your viewer looking at the clutter than the actual nail art you worked so hard on.
STOP The “Claw”
There is nothing less pleasing to the eye than putting your hands in the “claw” position (see photo below). It looks staged and unnatural. You want your photos to look effortless like photographing wildlife/nature. If you were to see wild polka dot nail art walking around, would it be in the claw position? Probably not. Which leads into my next tip, hand position and props.

Use Props
You want your nailfies to look natural and effortless. What would you naturally be holding in your hands? Maybe a clutch purse? Or even some jewelry? What about a glass of wine? You could literally be holding anything in your hand and have a beautiful nailfie! However, keep the background to a minimum such as a solid color or carpet/wall.
And another thing – your clothing can act like a prop too. Angle your camera to catch your legs and shoes. You could also gently rest your hands over your lap or across your heart to catch your clothing. A pose I do frequently is simply pulling my long sleeve shirt down to the palm of my hand and wrapping my fingers over it.
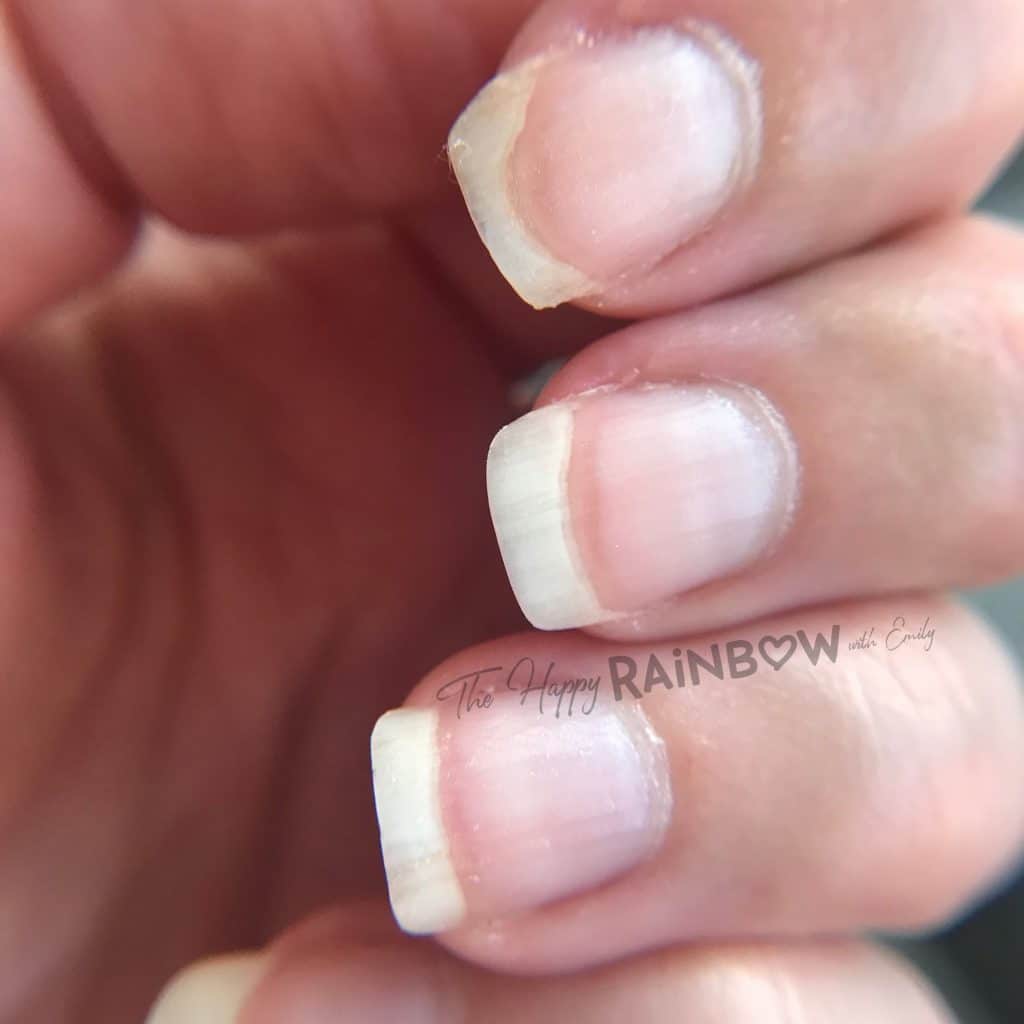
Take Care Of Your Cuticles
A quick way to improve your nailfie game is to take care of your hands and nails. Having soft, healthy cuticles around your nails will enhance the look of your nail art more than if they were cracked and bleeding. If you are using nail polish as much as I think you are, you should be developing a nail care routine of your own to keep them healthy as nail polish will affect them in one way or another. I use this cuticle oil daily.
If you don’t want to spend money on a fancy cuticle product, hand lotion will do just as well. See my article here about the top 5 nail care mistakes you might be making.
Lighting Is Important
If you have all of the previous tips mastered, but your lighting sucks your nailfies will still suck. Natural lighting is always preferred when taking a photo. I will sit facing an open window to take my photos, but I’m not always around or available to take them during daylight hours (especially during winter when we get like 5 hours of daylight in Minnesota).
That’s where a light box comes in handy. Now, a light box does not have to be some $500 professional photography equipment. A small box from Amazon is all you need – I use one like this! You’re just taking pictures of your nails anyway.


Bonus Tip
It’s okay to take a million photos to get one good photo. I can’t tell you how many different poses and props I experiment with every time I change up my nail art! I never know exactly what or how I want my photos to look until I take them! And instead of wasting my time after every single photo examining it, I simply take a bazillion and then look! I think it has cut back on the amount of time I am actually taking photos as well.
I hope you’ve learned a couple things about how to take the best nailfie and show off the best part of you – your amazing nail art! If you have other tips to share, please let me know!
I used to be so envious of all the professional artists out there doing all this phenomenal nail art until I found Color Street. Now I can apply them in 10 minutes, be ready to take my photos, and have salon quality nailfies! No more waiting for my nails to dry between applications or crooked lines. All photos above were taken using Color Street nail polish as well.
Emily
www.thehappyrainbow.net
Join me on Facebook
Follow me on Instagram
Pin with me on Pinterest
More Articles
Why you should be using nail polish strips
30+ ways to use old nail polish strips
Nail health tips

Thanks for the tips. I smiled at your comment, “It’s okay to take a million photos to get one good photo. ” My mother was a pretty fair photographer back in the day of film cameras. She used to tell me my biggest problem was not taking enough photos. Back then there were generally 24 or 36 exposures on a roll of film. She used to tell me that if I captured ONE keeper on a roll, I had done well, 2 was unheard of, and 3 was miraculous. I’ve never forgotten that advice and it’s easier to implement nowadays when we don’t have the cost of film or developing. So I shoot, shoot, shoot at each event or opportunity.
haha It’s a great tip, isn’t it? It is definitely easier to do now with digital photos, but you also have to have ample storage. I was constantly running out of storage on my old phone because I was always afraid to delete some of my outtakes as well. I’ve since upgraded to a much larger storage capacity. 😉