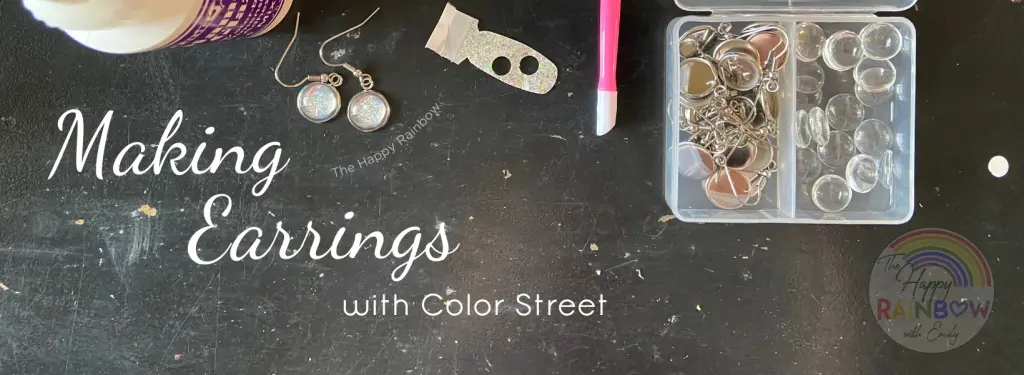
Making earrings with Color Street is probably one of my favorite ways to use old nail polish strips. It doesn’t take long to do and you’re able to accessorize with a color, glitter, or design that you love so much! I’ll walk you through the steps right here showing you how easy it is! This tutorial will work with any brand of strip or wrap as well!
This post contains affiliate links for products that I personally use or believe you will love based on quality. If you click on a link and make a purchase I may receive a small commission (at no additional cost to you). This helps support my rainbow to continue to make great content for you!
Once you master this technique, your creativity can run free! Find ways to make bracelets, necklaces, pendants, or even beads! Make sure you subscribe to my newsletter in order to follow all of my future crafty tutorials with nail polish strips!
Making Earrings with Color Street
Supplies Needed
- Blank metal earrings with cabochon*
- Diamond Glaze glue
- your favorite Color Street color, design, or glitter nail polish strip
- 12 mm circle hole punch (size will depend on how big the earring is)
*The type/style of earring you use doesn’t matter as long as it has the cabochon glass dome.
FYI: Color Street nail polish strips are protected intellectual property and they forbid the sale of any products made with their nail polish strips. This tutorial is entirely for personal use and gifting only.
Detailed Instructions
You can watch this video or follow the instructions below for making earrings with Color Street!
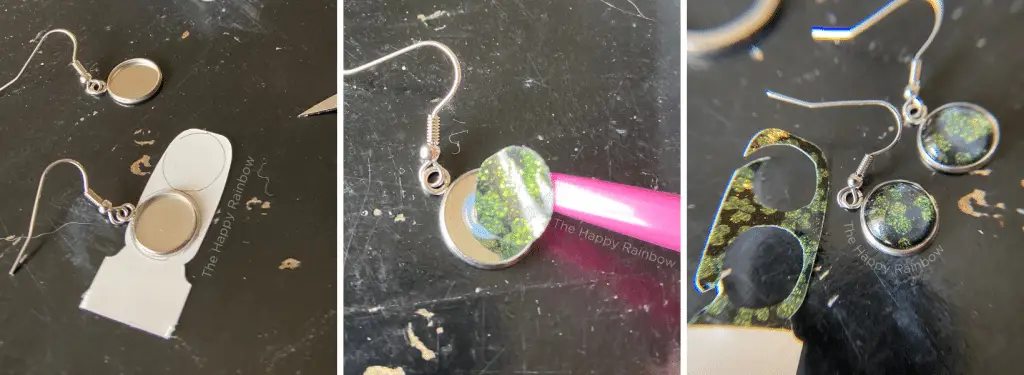
- Put a small amount of glue on the base of the earring. (If transparent design/color, omit this step because the glue doesn’t seem to turn clear underneath)
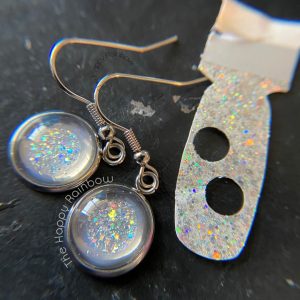
- After removing the clear plastic layer, use a circle hole punch or scissor to cut 2 circles from the chosen nail polish strip. If you’re using bigger earrings (12 mm diameter) like the ones in this tutorial, you may need to use the largest “thumb” strips in the set.
- Remove paper backing and press circle down.
- Apply another small drop of glue on top of the strip.
- Place one glass cabochon on top of the strip and push down gently.
- Allow to dry for a couple hours to ensure the glue cures completely and turns clear. While curing make sure the earrings are kept level/flat.
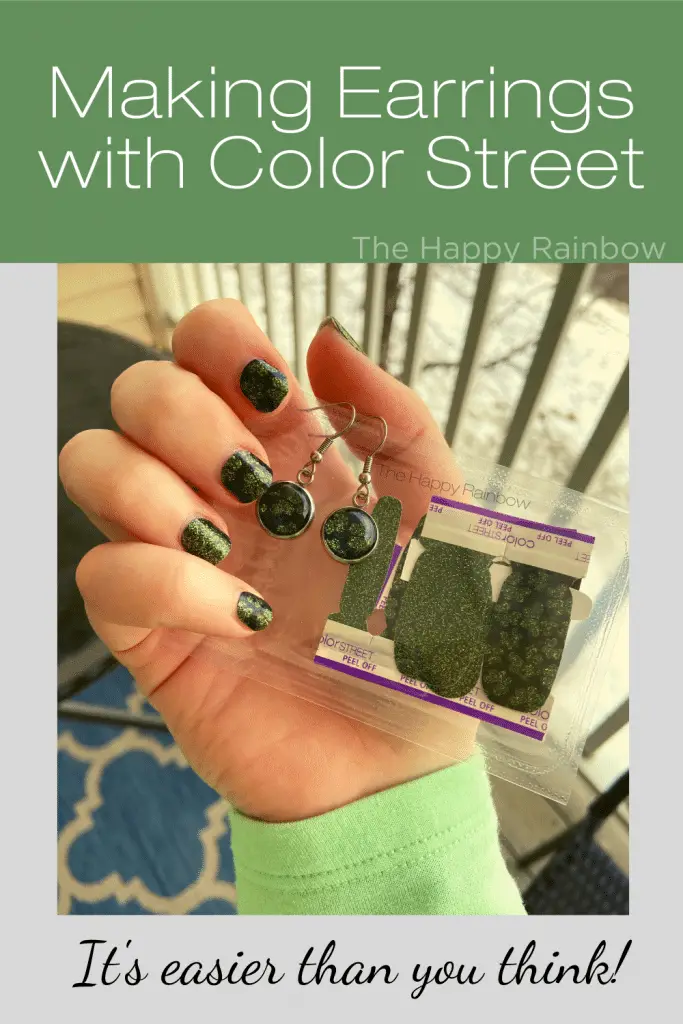
Making earrings with Color Street has never been easier! Once completely dry they are ready to be worn!
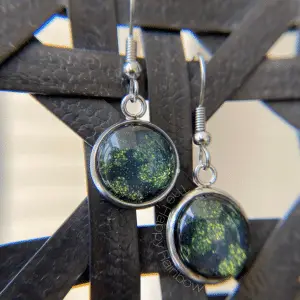
FYI: You may notice that the circle of Color Street I used is a little small for the size of the earring. I didn’t realize how big of a hole punch I needed when gathering supplies so I just went with it. The glass dome fills it in a little bit, but you can still see the metal backing. For Shangri-La it looked okay, but for making earrings with Color Street with other colors/designs you’ll want to make sure that it covers at least 90% of the backing. (Shamrock design was more successful)
Extra Tips
-Make sure to spread the glue all over and not just around the edges. When the glue dries, it will create dark spots or shadows in the areas with no glue. (pushing down the cabochon glass dome helps spread the glue around.)
-Have a wet paper towel nearby in case you use too much glue. It wipes away easily when wet, but once dry it can be difficult.
-The Diamond Glaze glue is runny and thin. Less is more when making earrings with Color Street.
-Bubbles are difficult to remove if you get them, try not to shake the bottle of glue. If you get bubbles, quickly wipe away the glue and reapply.
Have you tried making earrings with Color Street before? What about with a different brand of nail strip/wrap?
Emily
hi emily… i was wondering if you’ve gotten cloudy areas that appear in the earring a few days after you make them? i’m not sure if its glue on the backing or glue on top of the strip thats doing it but it doesn’t show up for several days. i’m wondering if a glue like E6000 might dry totally clear? thanks for the tutorial. i had a stroke several months ago and its nice to find a craft i can do with only one hand! christy
I’m so glad you found my tutorial helpful! Except I’m sad that you’re having difficulty with the glue.
I haven’t had any issues as far as the glue becoming cloudy after a couple days.
Some people have noticed a blue discoloration after a few days and recommended letting the base completely dry before gluing on the cabochon topping. You could try that technique to see if things improve.
Are you using a lot? A little goes a long way with that glue too. I’m wondering if using too much could cause it to stay milky instead of turning clear like it should. I’ve only tried the Diamond Glaze with this product, but I’m sure other glues work fine too! Hope this helps!
Hi Em – You mention taking the paper off the back of the mail strip, but what about the clear plastic cover on top? Do you leave that on or remove before adding gelbe cabochon?
Hi Jeannie, you definitely want to remove the clear plastic layer before adding the cabochon. I also updated the post to reflect that.
I made a pendant with Flocking Fabulous and it seems to have lost the pink background. Not like the order pink on the strips.
Thanks for this, I was thinking of trying this. I am wondering why you need to glue the strip on, or are you using strips that are dry?
I was using dried out strips when I made the tutorial, but the glue would just given an extra layer of adhesion. I feel like the better it is glued down the better it will last.