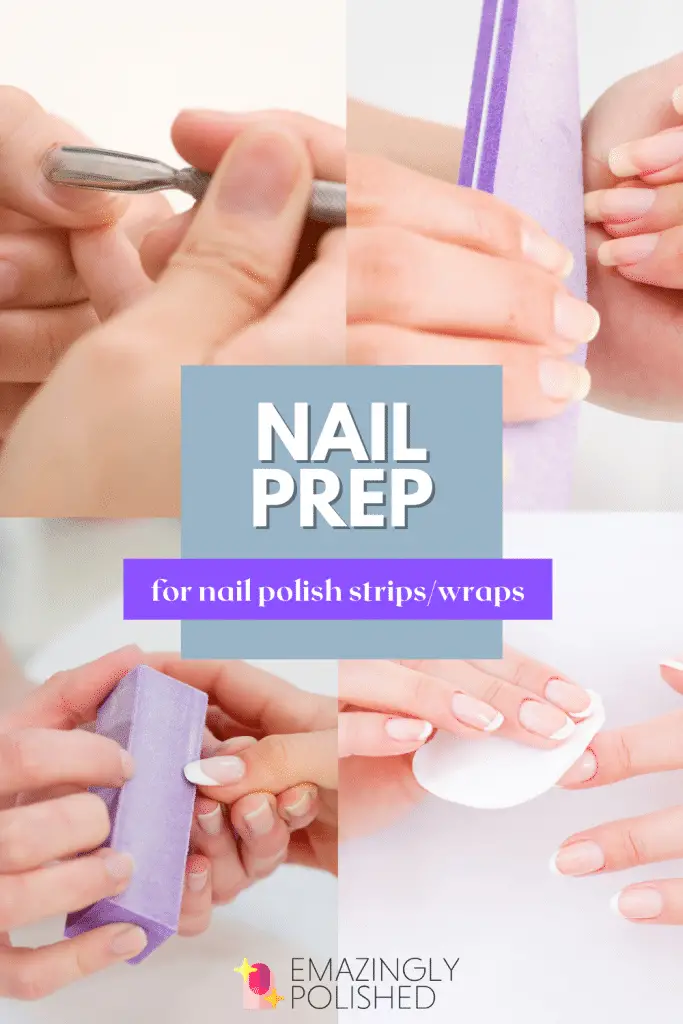
If you’ve had difficulty with your nail polish strips or wraps of any kind not sticking to your nails, this is the article for you. Learning how to prep nails for nail polish strips properly is essential in order to get the longest wear. These steps work for both finger and toe nails. You should ALWAYS prep regardless of which nails are getting done.
I have Color Street application tips for beginners that is worth a read as well. However, this article works for ALL brands of nail polish strips/wraps – not just Color Street.
This post contains affiliate links for products that I personally use or believe you will love based on quality. If you click on a link and make a purchase I may receive a small commission (at no additional cost to you). This helps support and enable me to continue to make emazing content for you!
Push Back Eponychium
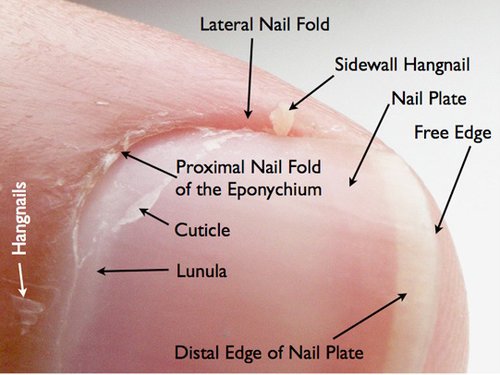
The first step to prep nails for nail polish strips should be to push back the eponychium. This will make your nail surface longer giving you more room for the design or glitter. What is the eponychium? Many people confuse it with the cuticle, but it is actually the living tissue growing up to your nail. (see the proximal nail fold of the eponychium in photo below) The reason you want to push this back with a cuticle pusher instead of actually cutting it is because this tissue keeps out any bacteria that could lead to an infection.
You can learn more about nail anatomy here. It might help to understand why to get yourself to do things right.
Remove Excess Cuticle
So if the eponychium is the skin, what is the cuticle? The actual cuticle is the thin sheet of skin that grows up onto your nail. (see the photo above) Removing this will ensure that your nail polish strip is actually curing to the nail itself and not skin. If you’ve had issues with your nail strips not adhering at the base of your nail, this could be why.
The easiest way to remove the cuticle is to do it immediately after a shower that way it is already softened. You can simply then push it back with a cuticle pumice stone or gently rub it away. There are also products that dissolve the cuticle making it easy to remove without the need to soften first. Another way would be to soak your hands in water, but then you have to wait.
Buff Nails Gently
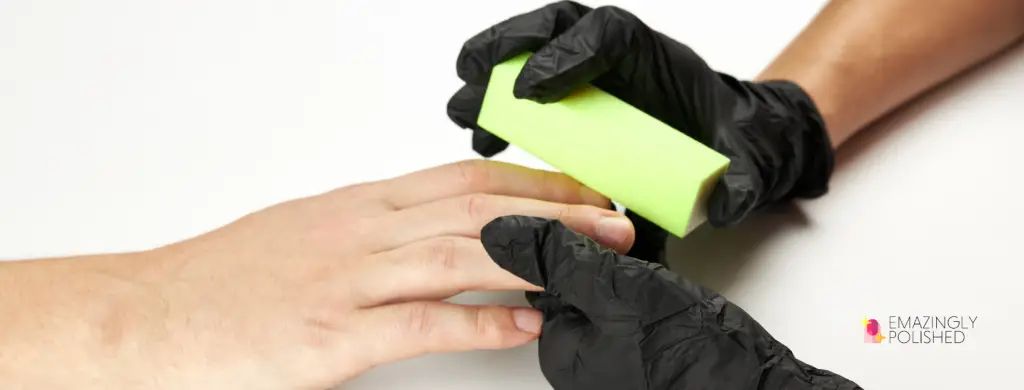
The key to buffing your nails is to do it GENTLY. Buffing can actually scratch and damage your nail if done too aggressively. However, buffing gives some texture and is great to prep nails for nail polish strips. This will help the nail polish strip grip onto the nail better. Buffing blocks are cheap and come with different grades of grit on each side. Not sure which side of the block to use? If it will file and shape your nail, it is too strong to buff with.
File to Desired Length/Shape
Make sure to file down and shape your nails before you apply anything. This may not seem like a way to prep nails for nail polish strips, but if you do too much filing and shaping after applying you risk damaging the strip itself. You can and should use a nail file to remove excess strip, but gently and only enough to perforate the excess.
I personally prefer a crystal/glass nail file as they are more sanitary and don’t lose their grit, but any nail file will do of course. Also, the thicker the nail strip the heavier the grit you’ll want so you’re not grinding away at your nail for extended periods of time.
Wash with Soap and Water
Washing with soap and water as the last step will further prep nails for nail polish strips. It will also remove any oils on the nails that can prevent the nail polish strips from adhering. Most will also come with some sort of alcohol prep pad, too. You could simply skip this step and proceed with the alcohol, but why not make extra sure all those oils are removed? Dawn has and always will be the best soap to remove oils, just saying.
Keep in mind these steps do not have to be completed in this exact order, but all steps are recommended prior to application. I hope these steps help you prep nails for nail polish strips and that you get some longer wear from them. What are you best tips for nail prep?
Emily