For my boyfriend’s 33rd birthday this year we decided to go to Arizona. Neither of us had ever been to the desert and thought this was a perfect time to go. However, since we were going to the place with lots and lots of cacti I thought it would be a great idea to use that for my inspiration for Color Street cactus nails.
I needed to come up with an idea that was simple enough to do because I didn’t have 4 hours to waste cutting out bits and pieces out of Color Street nail polish strips. Color Street is easy to work with, but intricate designs take a lot of patience and time.
Base/Background
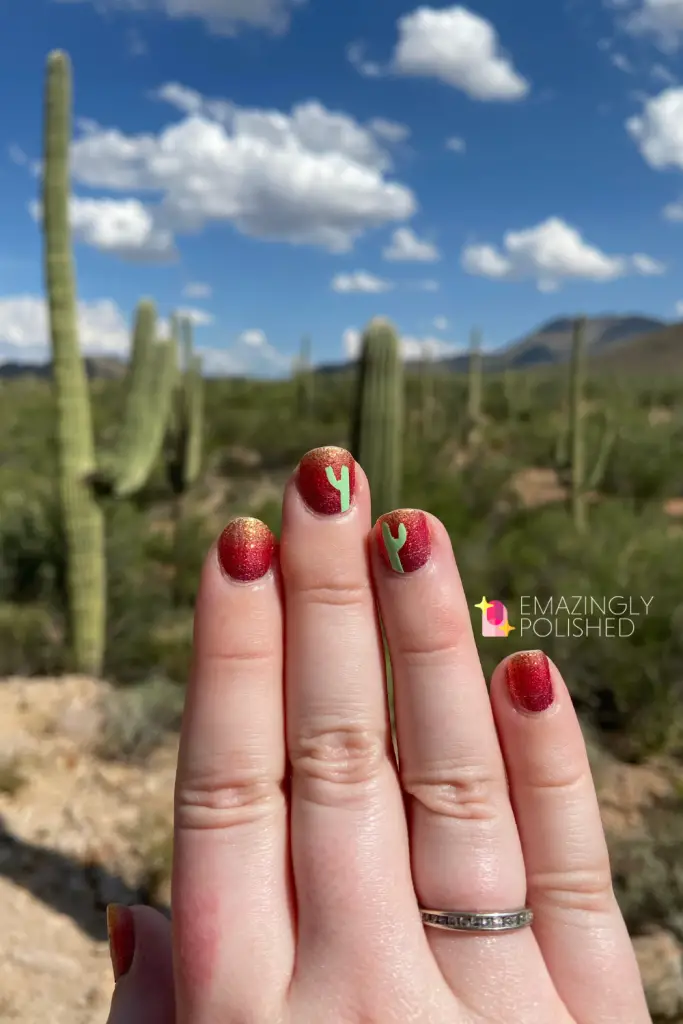
The first phase of this nailfie was simply applying Sunset Boulevard (retired) onto each nail completely. This would act as a sunset background for my cactus. I applied the strips with the deep red at the bottom to act like the dry desert ground my cactus would grow out of.

This post contains affiliate links for products that I personally use or believe you will love based on quality. If you click on a link and make a purchase I may receive a small commission (at no additional cost to you). This helps support and enable me to continue to make emazing content for you!
Making the Cactus Pieces
The next step for these Color Street cactus nails would be to make the cactus itself. This process is very delicate and I’m definitely not a pro at it yet, but it worked well enough for me.
Supplies:
X-acto knife
Tweezers
Pencil
Color Street color – Kilowatt
Color Street color – Sunset Boulevard (retired)
The first step would be to flip the strip over and draw your shape on the paper backing with pencil. The pencil allows you to easily erase and redraw as necessary. DO NOT remove the plastic coverslip yet. It’s much easier to cut with the X-acto knife with it still on.
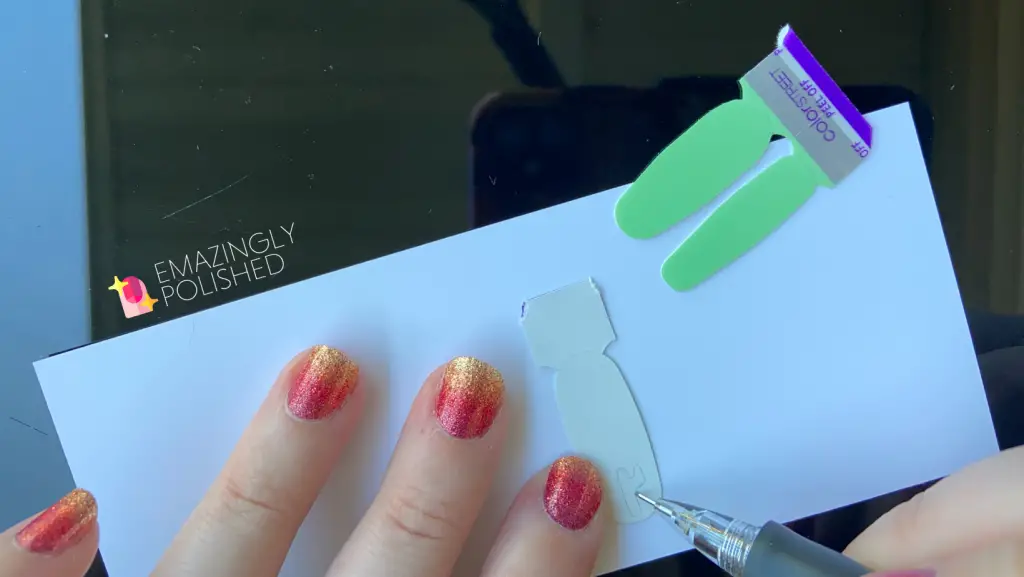
You’ll then use the X-acto knife to gently cut along the lines you drew on the paper backing. I find that the curves are the hardest part to cut, but just go slowly and if you need to do more of a “punch” than a slice that works too.
And if it doesn’t get cut perfectly, keep reading as I’ll show you how to fix things carefully right on your nail.
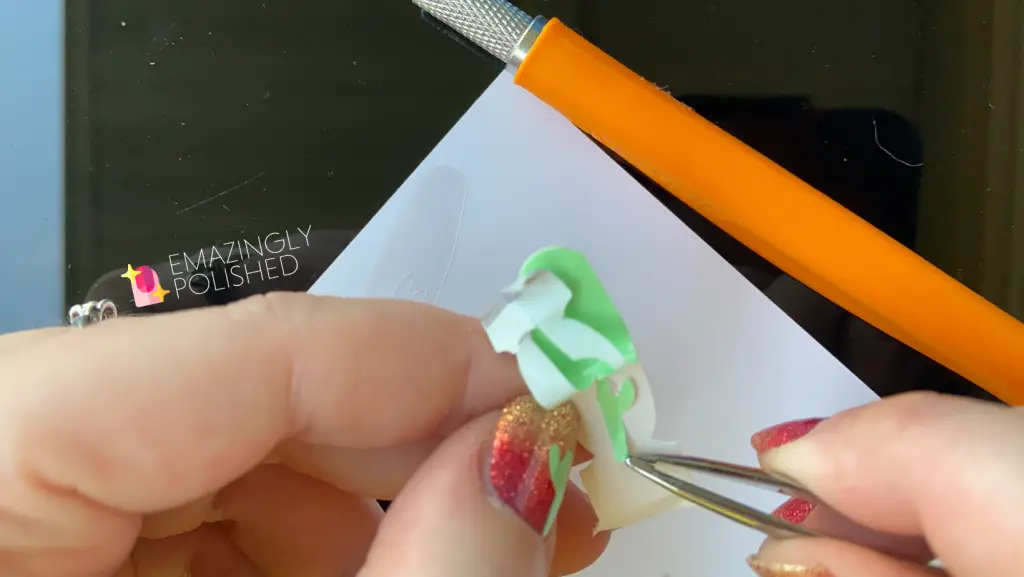
Once the cactus is completely sliced through the strip, flip it over and remove the plastic coverslip. Remove the rest of the strip with the silver tab leaving behind the cut out decal. If it doesn’t seem like it was cut completely through use the X-acto knife to finish the job and then continue to remove the excess strip.
Then using your tweezer gently grab one side of the cactus and remove it from the rest of the strip.
Tweezers make it much easier to position and apply the pieces for these Color Street cactus nails. when you apply the cactus piece, DO NOT push it completely down onto the nail until it’s positioned exactly how you want it. Once you push the strip down there’s no going back because you’ll likely ruin the strip underneath too.
How to Fix Things After Application
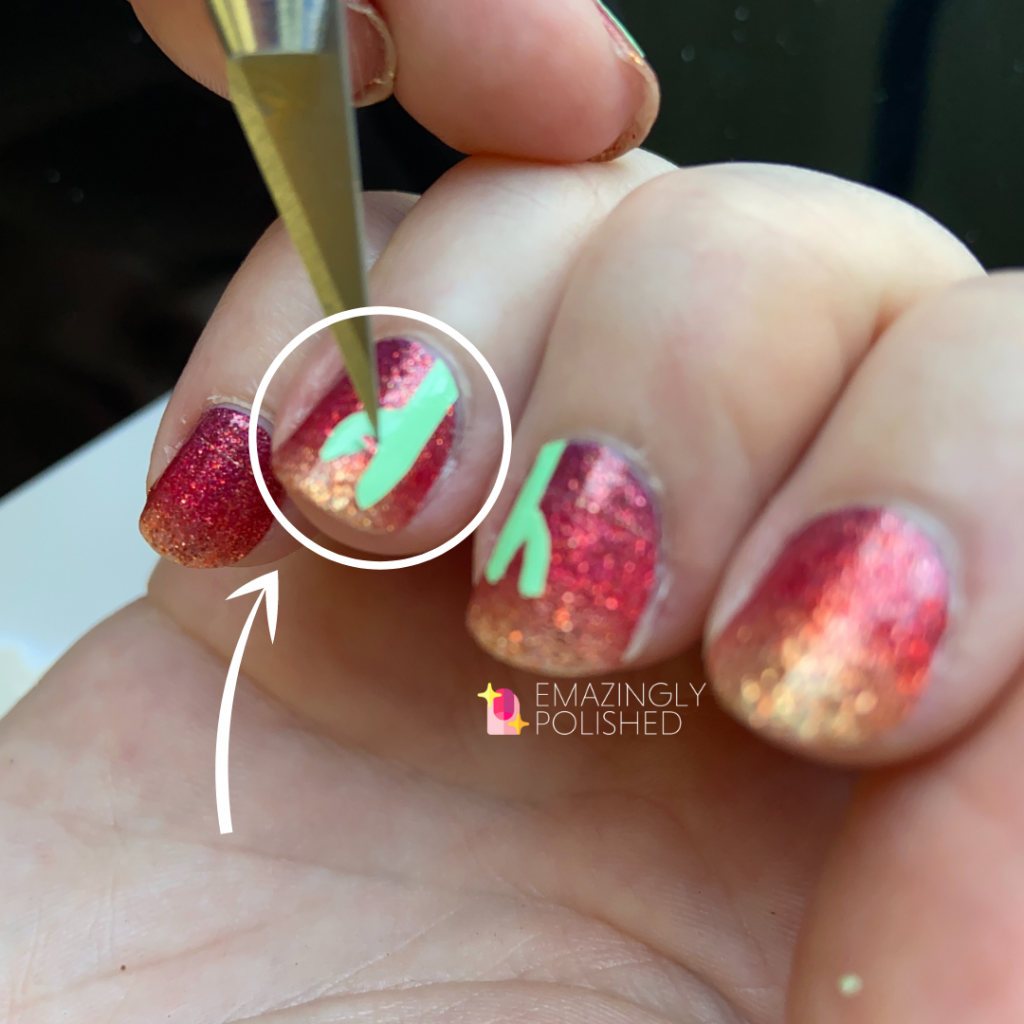
If after you’ve applied your cactus and you don’t like the shape you can CAREFULLY use the X-acto knife to GENTLY cut off pieces. When I first applied my cactus cutouts I didn’t like the “V” shape for the cactus arm. I wanted it a little more “U” shape like a real cactus, but I just couldn’t seem to cut that initially for my Color Street cactus nails.
The key to this is to not push too hard because you don’t want to go through both layers of polish, just the green for the cactus. You also need to be careful not to cut your cuticle if you’re using the X-acto knife to clean up around there.
Use a flicking motion to lift up the excess strip once you’ve cut to the desired shape. The photo below tries to show that, but I know it’s hard to see. Then either use your tweezers, X-acto knife, or fingers to remove the excess.
And like always, you’ll want to apply either Clear As Day or another top coat to make sure the cactus decal doesn’t start to lift away as you use your hands.
Watch The Process In Action
Here’s a video that shows the process for my Color Street cactus nails. Sometimes it’s easier to understand when you can see the process in action instead of just reading the words with a few photos.
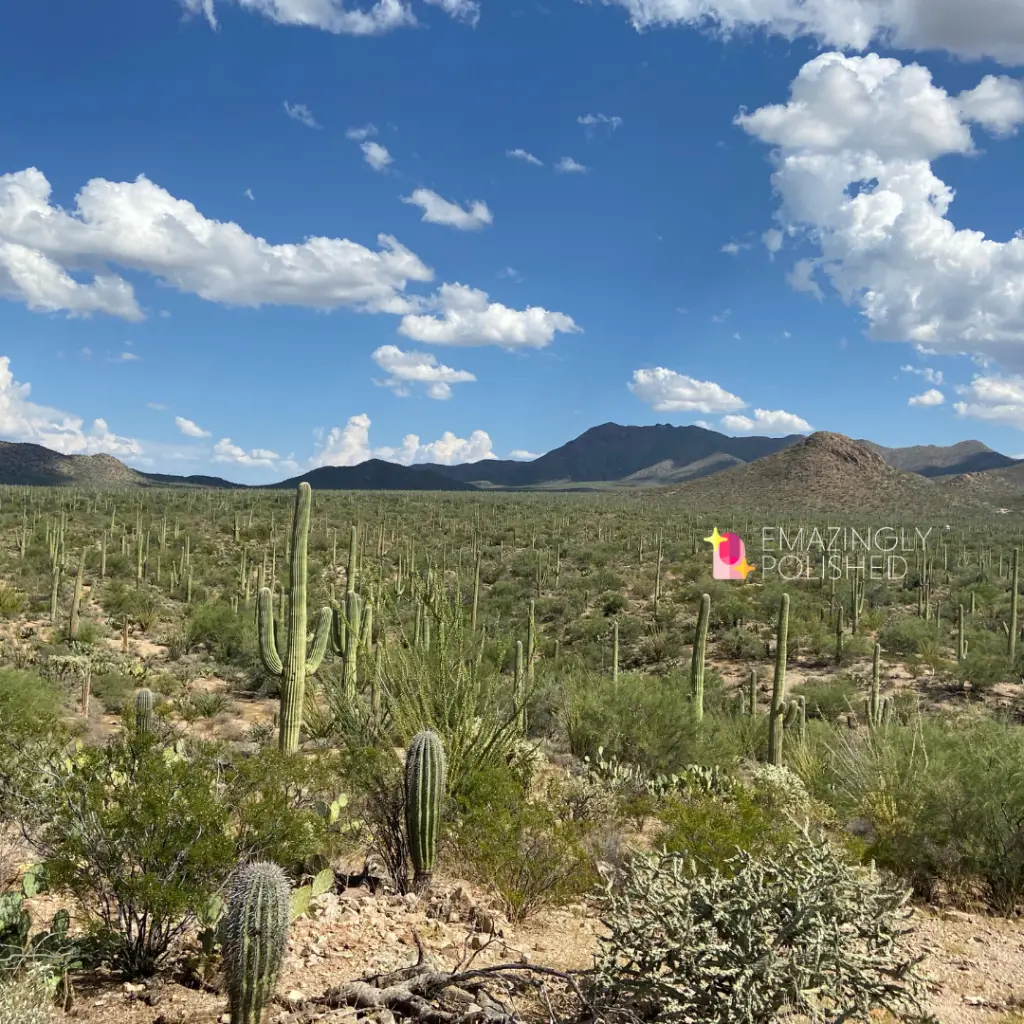
And of course I had to take a nailfie of my Color Street cactus nails while we were hiking in Saguaro National Forest with all the Saguaro cacti. It was probably one of my absolute favorite things that we did in Arizona this past week. It was like a cactus forest with some breathtaking views.
Here are some tips for taking Instagram worthy nailfies once you’re done.
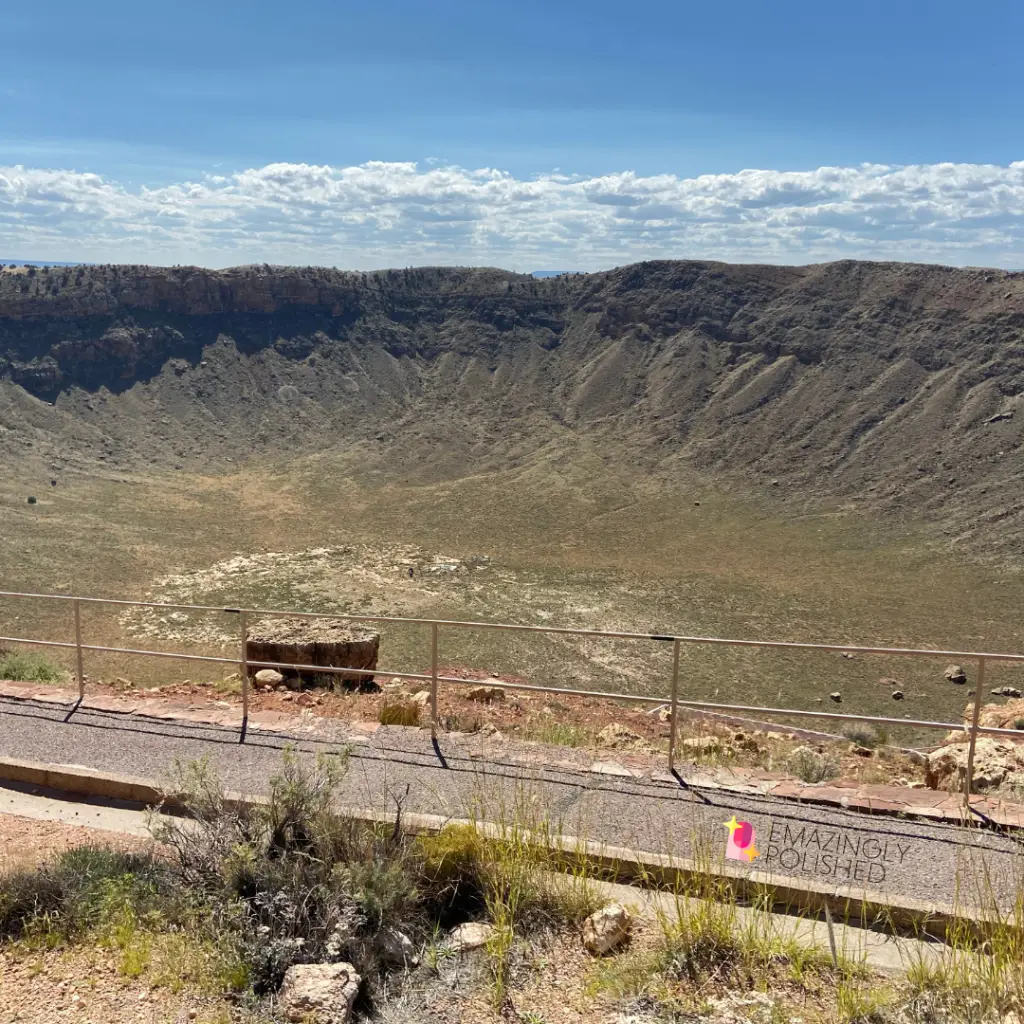
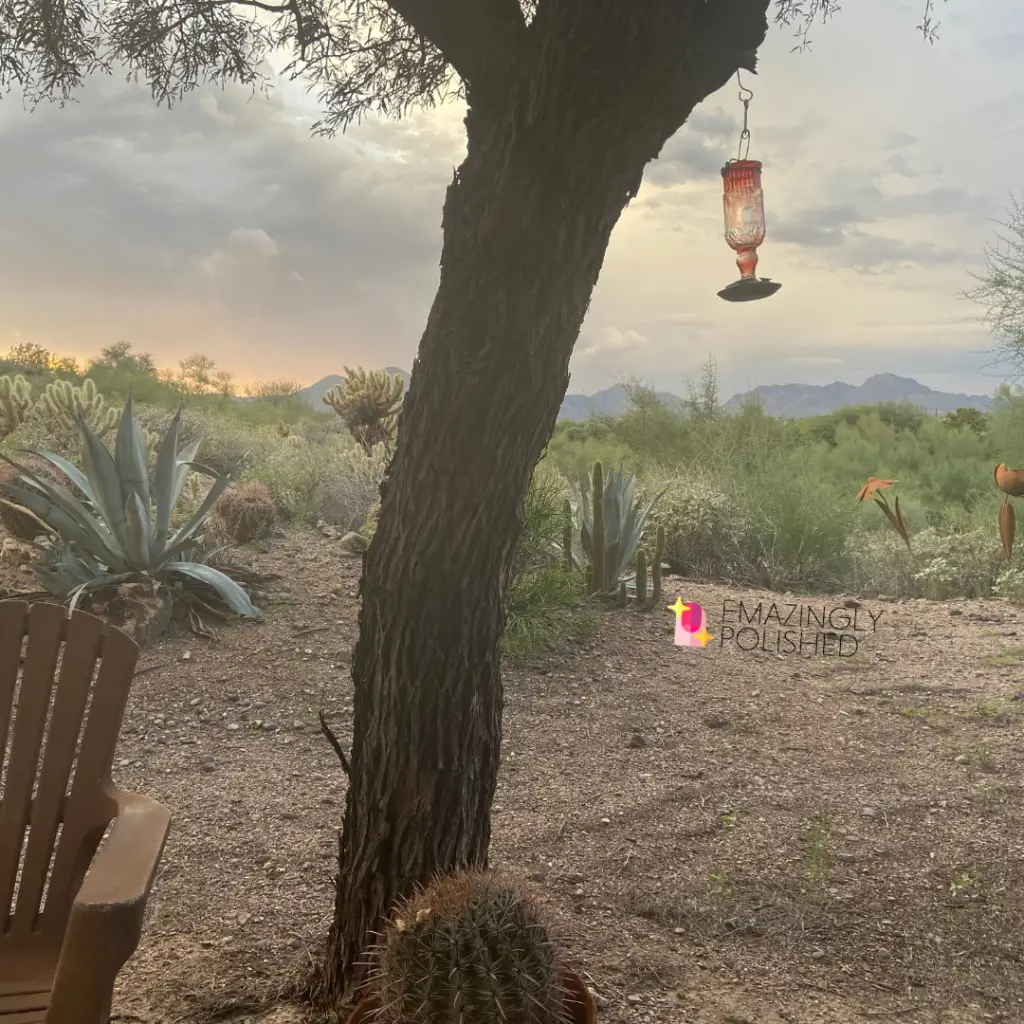
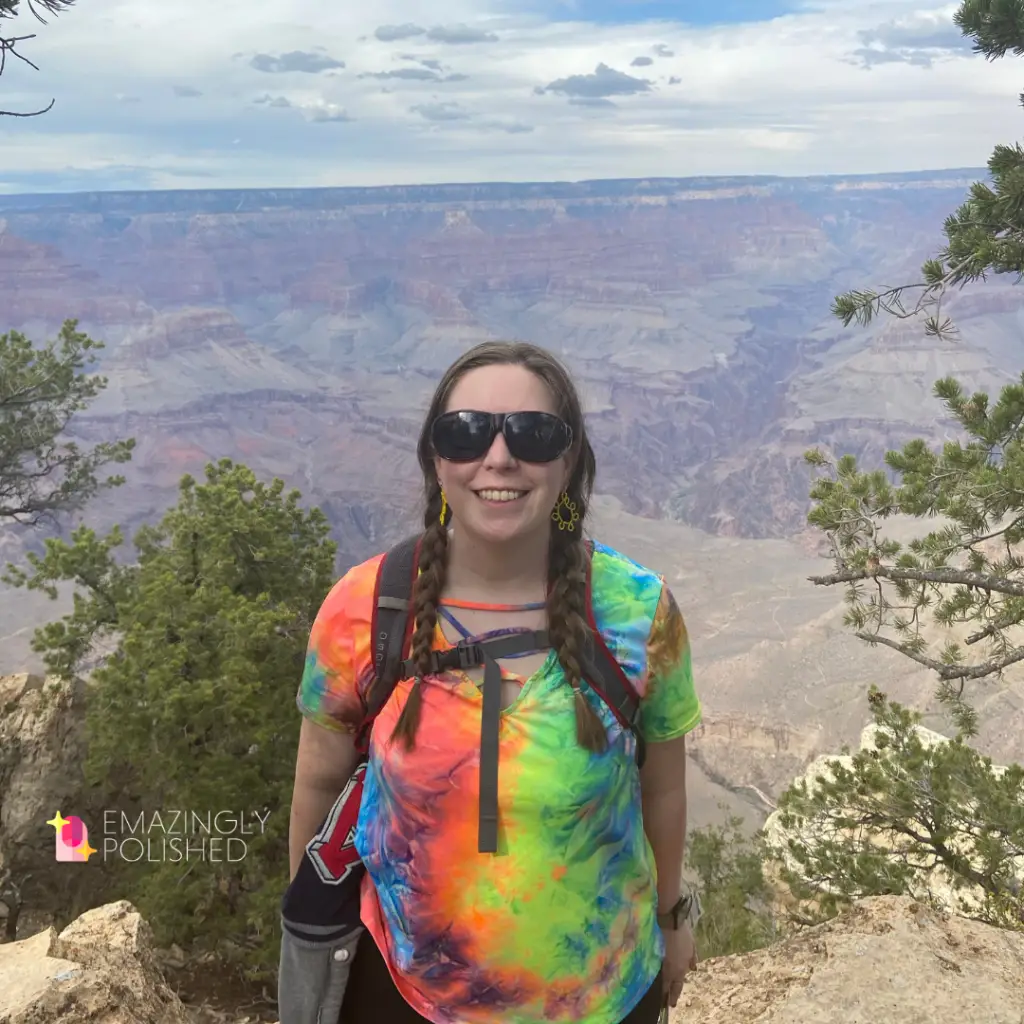
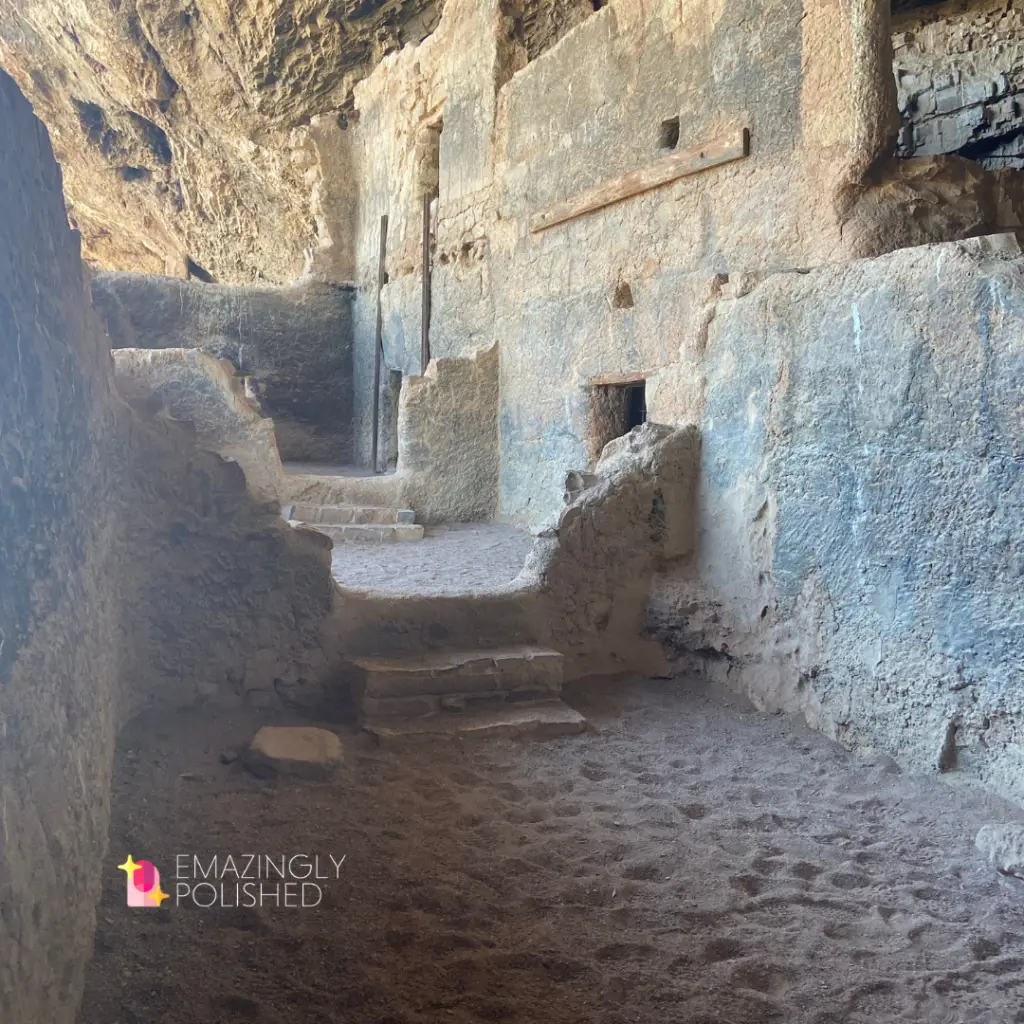
The photos below are just some of the other amazing photos I took. We went to the Grand Canyon, hiked to the lower Tonto National Monument cliff dwelling, checked out the meteor crater, as well as relaxed at our airbnbs. If you’ve never been to Arizona, please make it top on your list fast! There’s so much to do and see. I already have another list of things we will do the next time we head out that way.

Have you created your own Color Street cactus nails? I’d love to see a photo and feature your nailfie here! Simply use my contact me form and let me know you’re interested in sharing!
Emily
